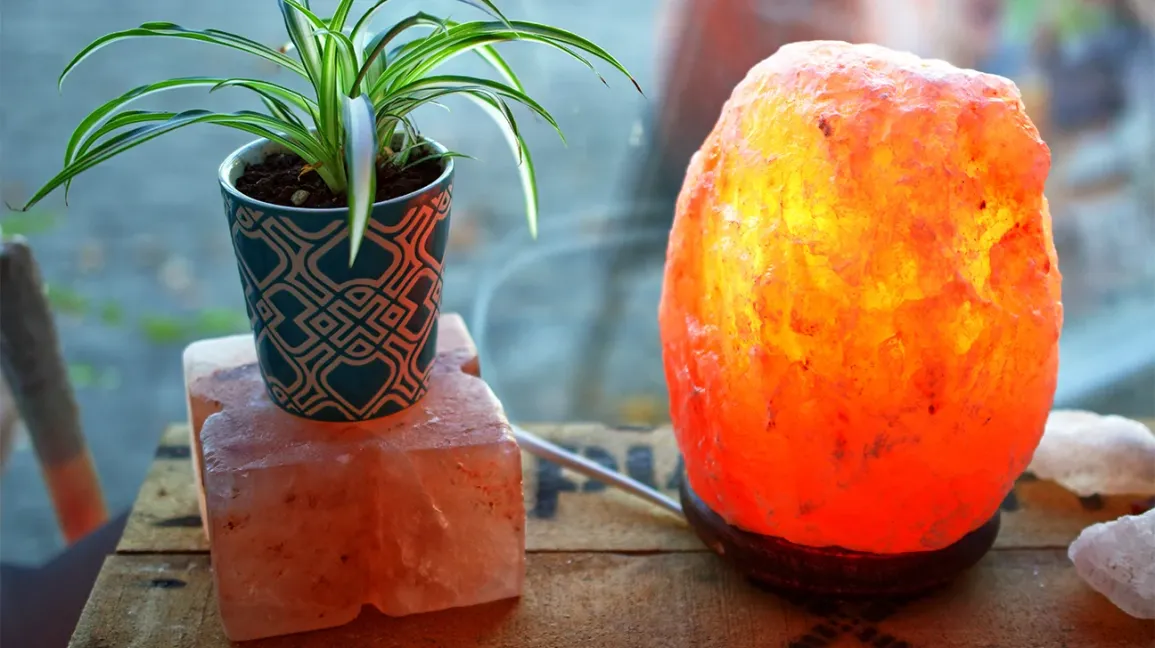
Salt lamps have gained popularity in recent years as not only decorative items but also for their potential health benefits. These unique lamps are made from natural salt crystals, typically mined from the Himalayan region.
When lit, they emit a warm, soothing glow that creates a cozy atmosphere. Additionally, salt lamps are believed to release negative ions into the air, which can purify and improve the air quality in a room.
However, like any other electrical appliance, salt lamps may encounter problems that require troubleshooting and repairs. In this article, we will guide you through the process of fixing a salt lamp, ensuring its longevity and effectiveness.
Diagnosing Common Issues: Identifying Salt Lamp Problems
Before attempting to fix a salt lamp, it is crucial to first diagnose the problem. Common issues include a non-functional lamp, flickering light, loose parts, or wiring problems. Start by ensuring the lamp is properly plugged in and that the outlet is functioning.
If the lamp still does not work, proceed to check for loose or damaged parts. It’s also worth examining the bulb, as it may be burnt out or improperly installed. By identifying the specific problem, you can then proceed with the appropriate steps to fix it.
Step-by-Step Guide: Disassembling the Salt Lamp Safely
To fix a salt lamp, you may need to disassemble it. Begin by unplugging the lamp from the electrical outlet and allowing it to cool down if it has been recently used. Gently remove the bulb and carefully set it aside.
Next, inspect the lamp’s base and look for any screws or clips that hold the lamp together. Use a screwdriver or your hands to loosen and remove these fasteners.
Slowly separate the different components of the lamp, taking note of their arrangement for reassembly later. Handle the salt lamp with care to avoid any damage or injury during disassembly.

Troubleshooting: Identifying and Resolving Wiring Problems
Wiring problems are often the cause of a malfunctioning salt lamp. Inspect the lamp’s wiring for any signs of fraying, loose connections, or damage. If you notice any issues, it is important to address them promptly to prevent further damage or potential hazards.
Repairing the wiring may involve replacing damaged cords, reconnecting loose wires, or soldering connections. Ensure that you have the necessary tools and knowledge to handle electrical repairs safely. If you are uncertain or uncomfortable with handling wiring problems, it is advisable to seek professional assistance.
Replacing the Bulb: Selecting and Installing a New Bulb
When a salt lamp’s light starts to flicker or does not illuminate at all, the bulb may be the culprit. Begin by determining the type of bulb required for your specific lamp. Most salt lamps use small, candelabra-style bulbs, typically in the wattage range of 7-15 watts.
Once you have obtained the appropriate replacement bulb, carefully insert it into the lamp’s socket, ensuring it is securely in place. Avoid touching the bulb directly with your bare hands, as this can cause damage and reduce its lifespan. Reassemble the lamp and plug it back in to check if the new bulb has resolved the issue.
Cleaning and Maintenance: Preserving the Salt Lamp’s Efficacy
Regular cleaning and maintenance are essential for preserving the efficacy and appearance of a salt lamp. Dust and debris can accumulate on the salt crystal surface, which can hinder its ability to release negative ions effectively.
To clean the lamp, first unplug it and allow it to cool down completely. Use a soft, dry cloth or brush to gently wipe away any dirt or dust. Avoid using water or cleaning solutions, as these can damage the salt crystal.
Additionally, keep the lamp away from humid environments to prevent excessive moisture absorption, which can lead to salt lamp deterioration.
Repairing Cracks and Damage: Restoring the Lamp’s Integrity
Over time, salt lamps may develop cracks or other forms of damage, compromising their structural integrity. To repair minor cracks, you can use a clear adhesive specifically designed for glass or crystal surfaces. Apply a small amount of adhesive to the crack, making sure to follow the manufacturer’s instructions for proper drying and curing.
For more severe damage, it may be necessary to consult a professional or consider replacing the lamp altogether. Remember, addressing cracks and other damage promptly can prevent further deterioration and potential hazards.
Extending Lifespan: Tips for Prolonging Salt Lamp Durability
To extend the lifespan of your salt lamp and minimize the need for repairs, there are a few simple steps you can take:
- Firstly, avoid placing the lamp in areas of high humidity or moisture, as this can accelerate salt crystal erosion.
- Secondly, use a low-wattage bulb to prevent excessive heat, which can cause the salt lamp to sweat or deteriorate.
- Additionally, periodically rotate the lamp to ensure even wear and tear on the salt crystal.
- Lastly, keep the lamp away from direct sunlight, as prolonged exposure can fade the color of the crystal.
Taking these precautions will help prolong the durability and effectiveness of your salt lamp.
Salt lamps can provide a soothing and aesthetically pleasing addition to any living space while potentially offering health benefits. However, like any other electrical appliance, they may require occasional repairs or maintenance to ensure their optimal functionality and longevity.
By following the step-by-step guide provided in this article and being proactive with cleaning, maintenance, and proper usage, you can enjoy the ambiance and potential health benefits of your salt lamp for years to come.
Remember to always prioritize safety and consult professionals if you encounter any significant issues or are unsure about performing repairs yourself.